Wednesday, September 3, 2014

All-Natural Make Up Remover Wipes


Okay so the majority of us ladies wear make up. Whether you wear a lot or bare minimum it is still a pain to get off! So you head to the local store to pick up a bag of make up remover wipes that cost a FORTUNE, and last a month, at most. Not to mention most of the brands dry out my face or make it too oily. What a waste of money I thought? Since I have been really into a "homemade" kick, not necessarily homemade cookies cakes and buns.. But more along the lines of cleaning supplies, beauty products etc. I haven't gone off the deep end and started making my own shoes or anything like that. The more and more I find myself looking for alternatives to high-priced, over-packaged, chemical-filled stuff. Sure it is economical but I like the feeling of accomplishment. 


After a little research I have found my own DIY homemade all-natural make up remover wipes! Also the cost is nearly more than half of what you spend on the store bought brands. All you need is a sealed tall jar, coconut oil, water and tea tree oil.

Some interesting facts I came across about using coconut oil for make up removers is that coconut oil contains Luaric Acid, which has natural antimicrobial, antioxidant, anti-fungal, antibacterial, soothing, etc properties.

The process is SO simple that I am not even sure you need a "tutorial". 

 
Photo Cred: One Good Thing

All you need to do is take a full paper towel and cut it in half, and place it in a containing soaking in 4 cups warm water, 1-2 cups coconut oil, and a couple drops of tea tree oil. I like to let it sit for a couple hours or even over night before using. Just to make sure the paper towels are very moisturized and soft. 

Photo Cred: One Good Thing

Yup... It is THAT simple! I'm obsessed and in love with these that I even decorated my container to match my bathroom. Soon I'll share on how I did that with all of you, so stay tuned!

*** Tip: mix all your ingredients in a measuring cup first, mix well and then add to your paper towels. ***

Friday, August 29, 2014

Update!

Hey everyone! I decided to extend my blogging into my personal life. This main blog "Crafty Mom Couture" will be where all my DIY, beauty finds, recipes, and crafts. If you are interested into knowing what is going on in this crazy family's life, check out up top the tab called "Our Open Diary." This is just to keep everything separate and more simpler for my readers. Hopefully this didn't confuse anyone! Feel free to "like" both pages on Facebook for current updates! Here are the links...


Thursday, August 21, 2014

DIY Instant Dry Nails

I haven't brought Olivia with me to go get our feet done just yet. Not that I am against toddlers getting their nails painted but because I can't justify spending $15 or more when she will instantly going to ruin them. I have painted her toe nails at home but they last for maybe a couple hours, a day if I am lucky! Lets be honest. After spending a half hour to 45 minutes on getting your nails or toe nails done you want them to last and look perfect. Being a mom I instantly break a nail or my toes get messed up that day. There has to be a SOLUTION!
I have tried the cold water method. Where you put your nails into iced water for a couple minutes and they are supposed to dry. Yes it is true they do try but they peel almost instantly. Finally I came across this gem on Pinterest (of course). 

Pam! You know what you use to spray your pans with before cooking?! I know what you are thinking but it really does work! First clean your foot and paint your toes or nails. Simple right? Then spray the Pam onto your wet nails and let it sit for a minute or two. Wash your feet or hands and WALA! Perfectly dried nails. I ended up using this method on Olivia and after a WEEK they are still perfectly painted! If a toddler experiment doesn't prove it to you, I don't know what will! 

Sunday, August 17, 2014

Victoria Secret's Punch Drunk

After my recent post about our fun Saturday, I got a lot of feed back on my make up. I don't normally get that glamoured, especially after becoming a mom. It is easier with one kid when they are infants to get all beautiful, but the second they can start moving it starts to become a sport. Balancing your baby while putting on make up is down right HARD! Anyways, I wanted to feel like myself again and actually do my make up. Not thinking people would notice, THEY DID. Not sure to be embarrassed by it or flattered. Either way I wanted to share with you one of my favorite beauty products.


I should clarify; I do always wear make up, but the amount I put on depends on the day. The average day I have foundation, eye line, toner, mascara, and blush. Simple. (Maybe even too basic). Ever since I went to beauty school and saw all the girls rocking these beautiful, fierce lipsticks I gave it a shot. I never thought I looked good in lipstick and thought it was way too over the top on casual errand days. Boy, I was wrong! Even wearing my simple make up routine, when I added some color to my lips, everywhere I went I got compliments. Ladies even if you aren't the over the top make up user, always add some color to your lips! The results and confidence booster you will receive will instantly remove that fear.


Lately I have been into bright colors; reds and pinks. I found this gem from Victoria Secret when shopping for a bra. You know they put those little purse items on the stands as your waiting to be rang up (dang you marketing people). Out of boredom I started to check out what they had. They have several different colors but this one I found was calling my name. It is their "shine drama lip gloss" and the color is "punch drunk." Not too bright of a pink but draws the eye to your luscious lips. I'm obsessed. I probably wear this lip product the most. My review is medium in weight, you do know it is on. It does come off when you eat or drink, and I do find myself reapplying throughout the day. BUT for $5 I don't expect it to stay on all day.

Tuesday, August 12, 2014

DIY Savings Jar

Everyone has bank accounts now including a savings account. On Pinterest I came across this lady who turned an old shoe box into a secret savings account. Whether she found loose change or put extra cash at the end of the month in this box. She sealed it shut and couldn't see inside of it. In a year she opened it and had over 5 thousand dollars saved up! On top of her normal savings that she had going. I love this idea! You can make one for a future vacation or DIY project you have been wanting to do. I made one 4 or 5 months ago and opened it last week and we had almost $500 saved up! Now I'm making a new one and wanted to share with all of you! This is great to teach your kids to save too.

Supplies
Krylon all purpose spray paint (pick a color that isn't see through)
Plastic or glass jar from the dollar store (make sure it has a lid you can cut through)
Tissue paper of your choice
Glue
Ribbon
Construction paper
Emblems (like jewels or flowers etc.)

Instructions
Take the lid to your jar and cut a good size hole on top. Be careful! Mine was plastic so using my scissors worked. Not the most beautiful job but it did the trick. Then take your tissue paper and you want to double up. Meaning, cut your square to fit your lid but fold it in half so that way you can't see through it. Apply glue around the edged of the lid and neatly fold over the tissue paper. Don't forget to cut the center too! 

Next, spray paint the bottom part of the jar! Make sure you are in an open space, no need to breath in those chemicals. Keep your distance while spray painting to avoid paint streaks. Let it dry, both lid and jar. Once they are both dry, glue the lid and jar together and again wait for it to dry. (You want to make sure you can't access this on the daily bases. Hence gluing it all together.)


Time to decorate! Take your ribbon and trace the top rim of he jar. Here is where you can add your own touches like flowers or jewels etc. Get creative and make it your own!


I then added with my construction paper a label. (I like to label everything!) I wrote what it was and when to open it. These were the colors I chose for my savings jar. I keep it in our laundry room with my cute bright teal theme. Hopefully this sparks the creativity in you! It's a lot of fun for kids to put coins in it too. Olivia loves to help me!

Sunday, August 10, 2014

Personalized Mason Jars For Organization

Hey everyone! Another easy DIY project that helps with storing things. I use mason jars for EVERYTHING! I'm obsessed with these jars. They are cute and I know they are sealing whatever I am trying to store. You can use any size mason jars for this project but I personally used mini ones for the project that I am doing. (Which is organizing and storing all my homemade beauty body products.) 

Supplies
Arcylic paint
Paint brush
Mason jar (Walmart is cheapest. I got a 12 pack for $5!)
Glue
Pen

Instructions
1. Because the lid on the mason jars are separate (see photos below) you need to glue them together. You don't have to do this, but I recommend doing this if you are going in and out of the jar a lot. Just makes it easier and less work. Carefully glue around the part where the two pieces fit together. Tip: I glued on the rim and then placed the center piece on top of it.


2. Once the lid is fully dried flip it over. Time to paint! Mine came with a cute circle design on the lid and I wanted to keep it. So I carefully painted only the center circle part. I ended up doing two layers and it only took about 30 minutes to dry. Make sure you wait for it to fully dry until moving onto the next step.


3. Take out your pen (which ever color you want.) And write what it is that you are storing. Simple right? Your finished! I love little cute touches like this for storing and organizing. Gives it an extra touch and you can choose colors to match your decor. Also, if you wanted to do different designs, add ribbon or bling to it, it would still turn out great! I kept this one simple since no one really sees it but me.

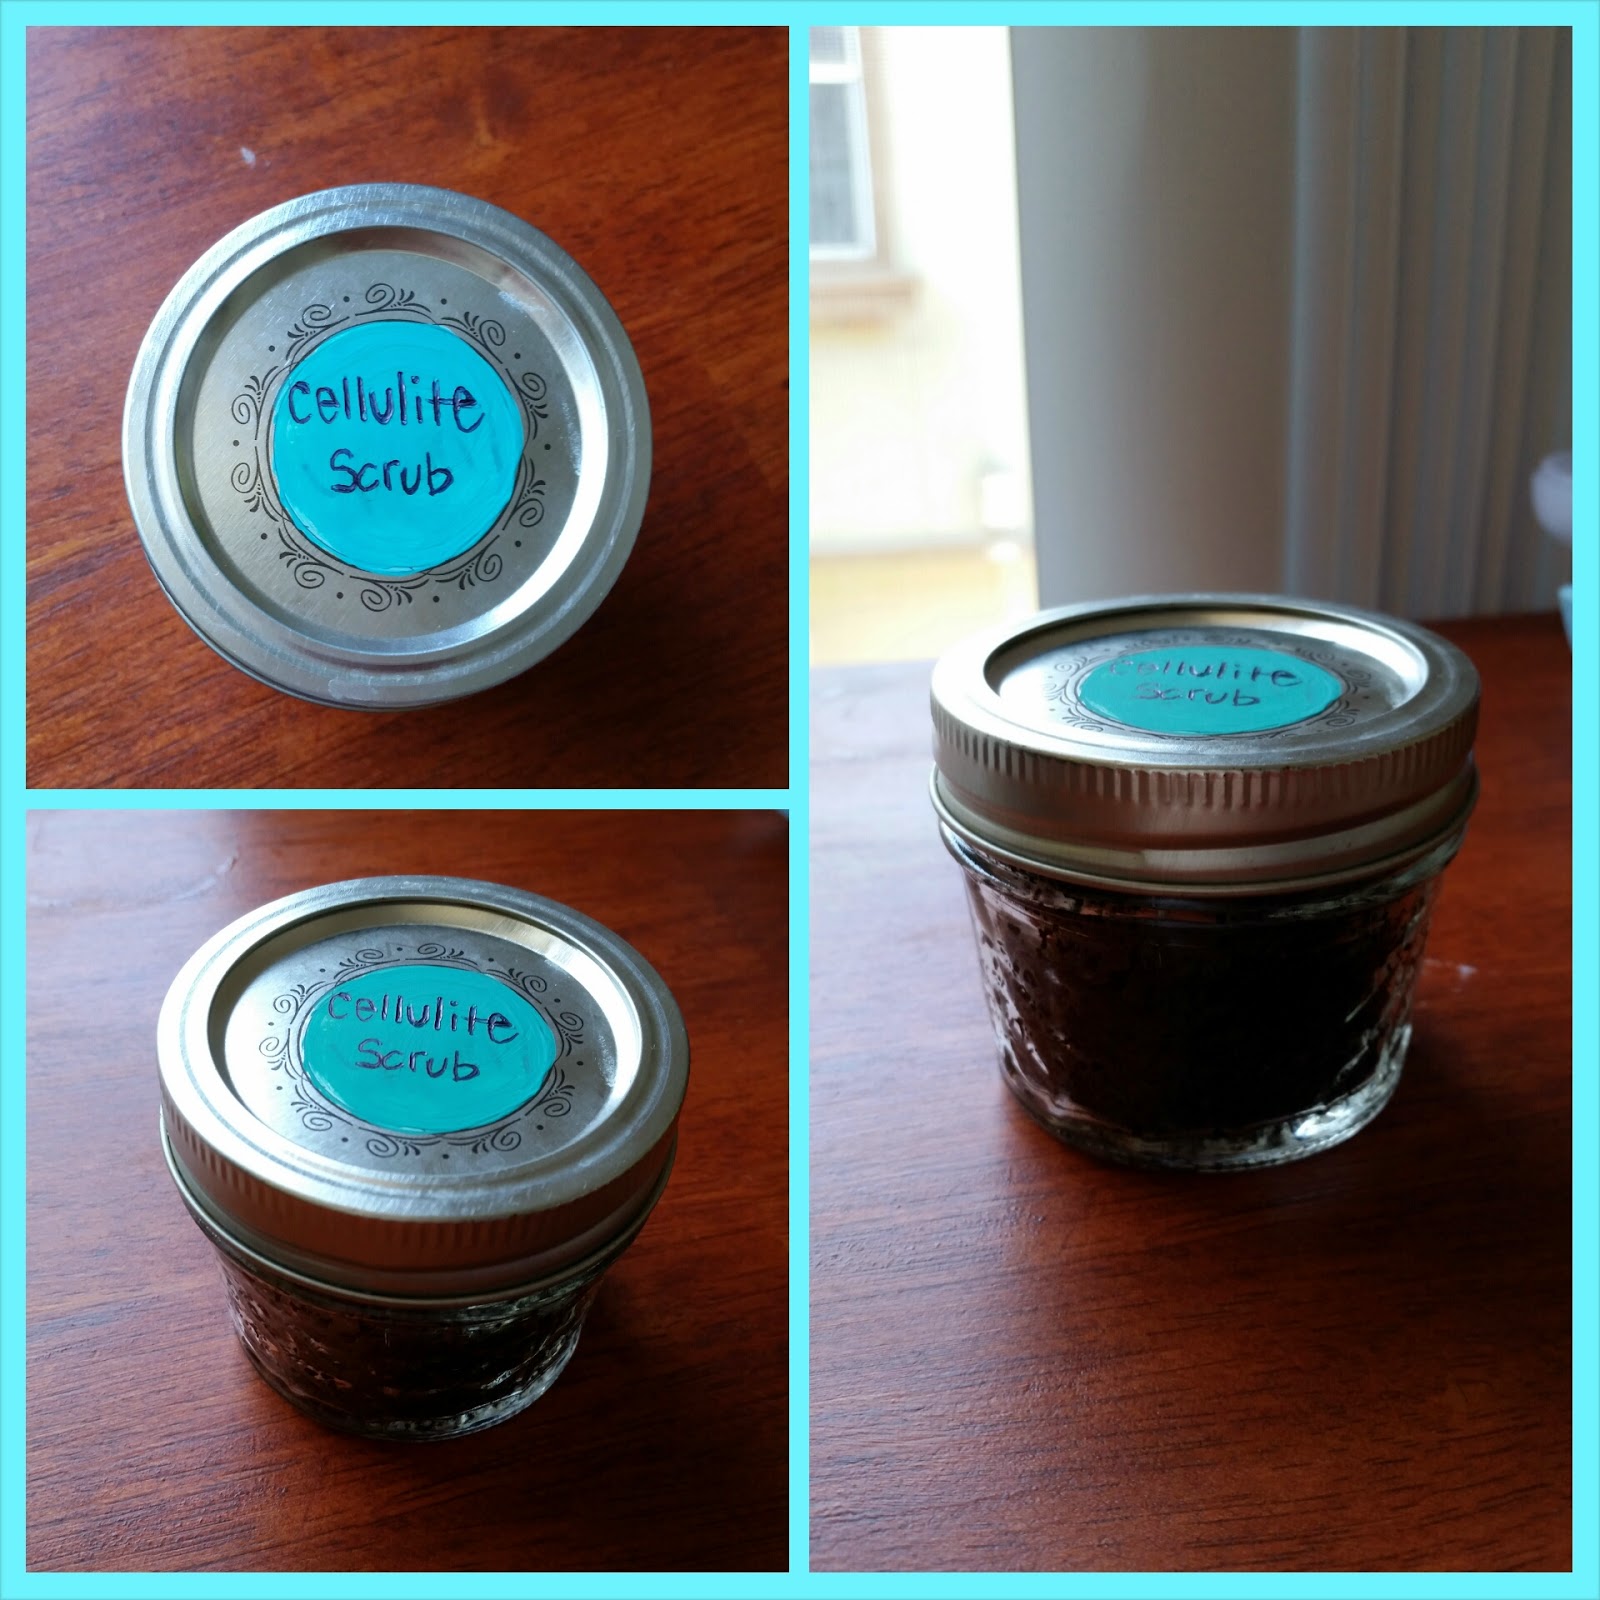
DIY Cellulite Scrub

The dreaded word cellulite that us ladies NEVER want to hear. Well I hate to be a negative nancy but every woman will have cellulite on their body by the time they reach 40. Having a 'mom' body (where I actually have hips now) I joined the cellulite club. I've tried a couple expensive creams but they haven't done much improvement. I hate when people will just say to you "go work out." Um... I run 5 days out of the week on top of yoga multiple times a week. Guess what?! It is STILL there! Being in my mid 20's I was mortified but after doing some research I found it to be quite the norm.

Back to the store bought creams. First they are expensive. Second you go through them super fast! Third it doesn't work! It did reduce the appearance but as soon as I stopped using them it came right back. I wanted something that would permanently work to help at least minimize the appearance, or if it couldn't fully get rid of it. Then I came across this DIY cellulite scrub with simple ingredients and let me tell you, AMAZING! Ladies this works! And you can find these ingredients in your house. Cheap and effective, just how I like it! First I'll tell you how to make it and then afterwords I'll explain why it works.

Ingredients
1/2 Cup of Ground Coffee
1/4 Cup of Sea Salt
1/4 Cup of Brown Sugar
1/4 Cup of Olive Oil (Not coconut oil because at low temperatures it hardens)

Directions
Mix all the dry ingredients first. Then add slowly, while stirring, the olive oil. Put your scrub in a clear container; I used a mini mason jar (Click Here). Works out great! While you are showering, apply some of your scrub onto your upper thighs and bum in a circular motion. Then rinse with warm water. Do this about twice a week and you will see a huge improvement fast!

The importance and why fresh ground coffee works so well. Caffeine in the coffee reduces the redness of the skin. It also firms and tightens the surface of your skin through constriction, that is why it reduces the appearance of cellulite. Coffee even is effective for promoting circulation, preventing from cellulite to form. A lot of spas use coffee as apart of regiment. It is highly effective! TRY IT, what do you have to loose? Beside that cellulite!

Recipe credited to paluaparrish